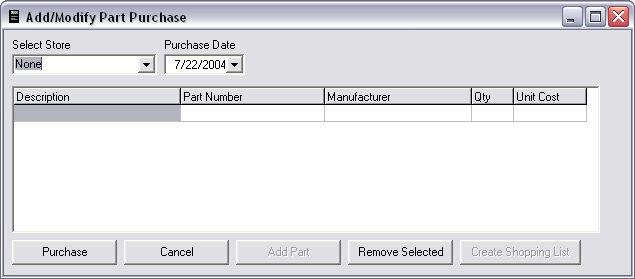
To increase your inventory of parts you must create a purchase record. You do this by right clicking on the parts container or category nodes and selecting "Purchase Parts" from the popup menu. Alternatively, you may select "Purchase Spare Parts" from the Tools menu. When you select Purchase Parts the following window is displayed.

You must first choose a store. Once you select the store the "Add Part" and Create "Shopping List" buttons will be enabled. Next select the date of the purchase. The date in important for maintaining consistent history records.
By clicking the "Create Shopping List" button, the program will determine all parts you require to meet their minimum stock requirements that are available for purchase from the selected store. A list will be created with all these parts.
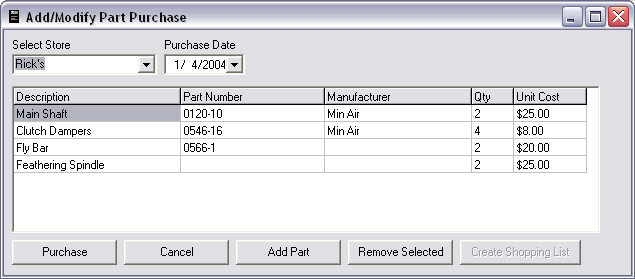
You may also click the "Add Part" button to select individual parts for this order. This will bring up the "Select Parts" dialog. This will add parts to your purchase. A sample purchase list is shown below:

Once parts are on the list you may modify the Qty and Unit Cost fields.
To remove any parts from the list select that part and then click the "Remove Selected" button.
Click Purchase to purchase these parts or Cancel to abort.